Choosing between 3D printing and injection molding confuses many product developers, hobbyists, and small business owners. Both processes turn digital designs into physical parts, but their cost structures are completely different. 3D printing builds parts layer by layer with no hard tooling. Injection molding forces molten material into a steel or aluminum mold under high pressure. The right choice depends on how many parts you need, how fast you need them, and how much you can pay upfront. This guide breaks down the real numbers so you can choose with confidence. We will look at setup costs, per part costs, lead times, design rules, and material trade offs.
Most beginners assume 3D printing is always cheaper because the machine costs less than a mold. That is true for the first few parts. But cost per part drops far faster with injection molding as quantity rises. A mold that costs $10,000 might produce 100,000 parts at $0.30 each, while a 3D printed part might stay at $2.50 each from the first unit to the ten thousandth. Those numbers change the math quickly. You need to understand both sides before committing to either path. The break even point is not a fixed number. It shifts with part geometry, material, surface finish, and labor.
Prusa Research and Bambu Lab both publish detailed printer specifications that show how far desktop additive manufacturing has come. The Simplify3D materials guide covers the physical properties of common thermoplastics used in both processes. We will reference those sources throughout this article. This is not a sales pitch. It is a practical cost and production analysis based on real shop experience. Many makers start with a desktop printer and later wonder if they should switch to injection molding. The answer depends on volume, budget, and product maturity. By the end, you will know exactly when to print and when to mold. We will also cover hidden costs that first time product developers often miss.
| Production Volume | 3D Printing Cost Per Part | Injection Molding Cost Per Part (Amortized) | Better Option |
|---|---|---|---|
| 1 part | $2.00 - $10.00 | $5,000 - $100,000+ (tooling) | 3D Printing |
| 100 parts | $2.00 - $10.00 | $50 - $1,000+ | 3D Printing |
| 1,000 parts | $2.00 - $10.00 | $5 - $100+ | Depends on part |
| 10,000 parts | $2.00 - $10.00 | $0.50 - $10 | Injection Molding |
| 100,000 parts | $2.00 - $10.00 | $0.20 - $1.00 | Injection Molding |
How Do 3D Printing and Injection Molding Actually Work?
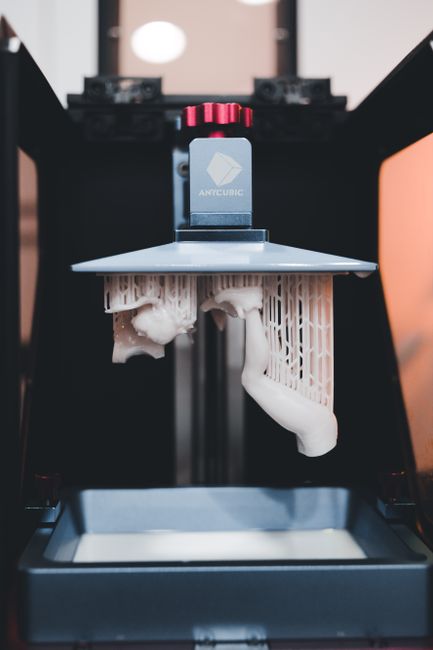
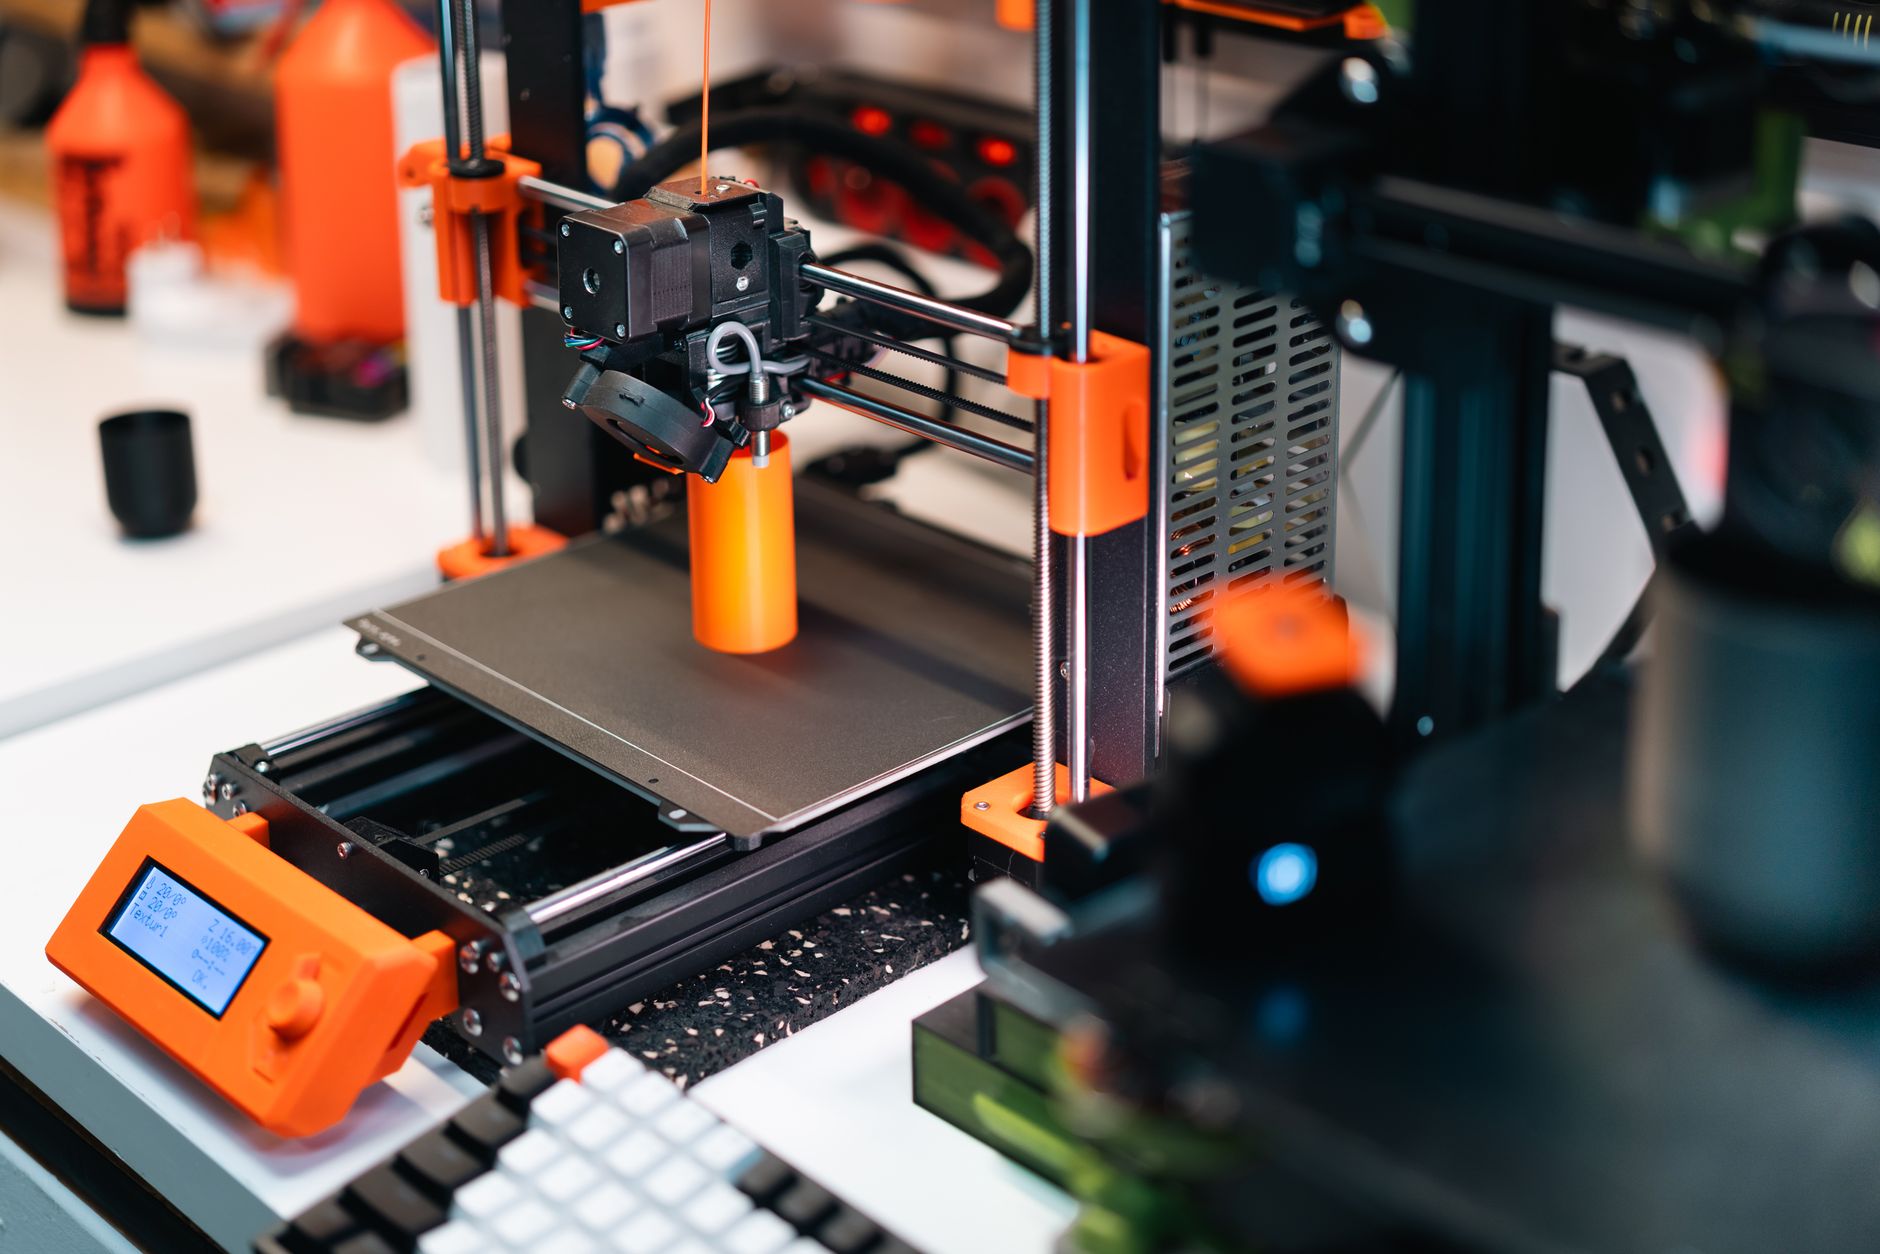
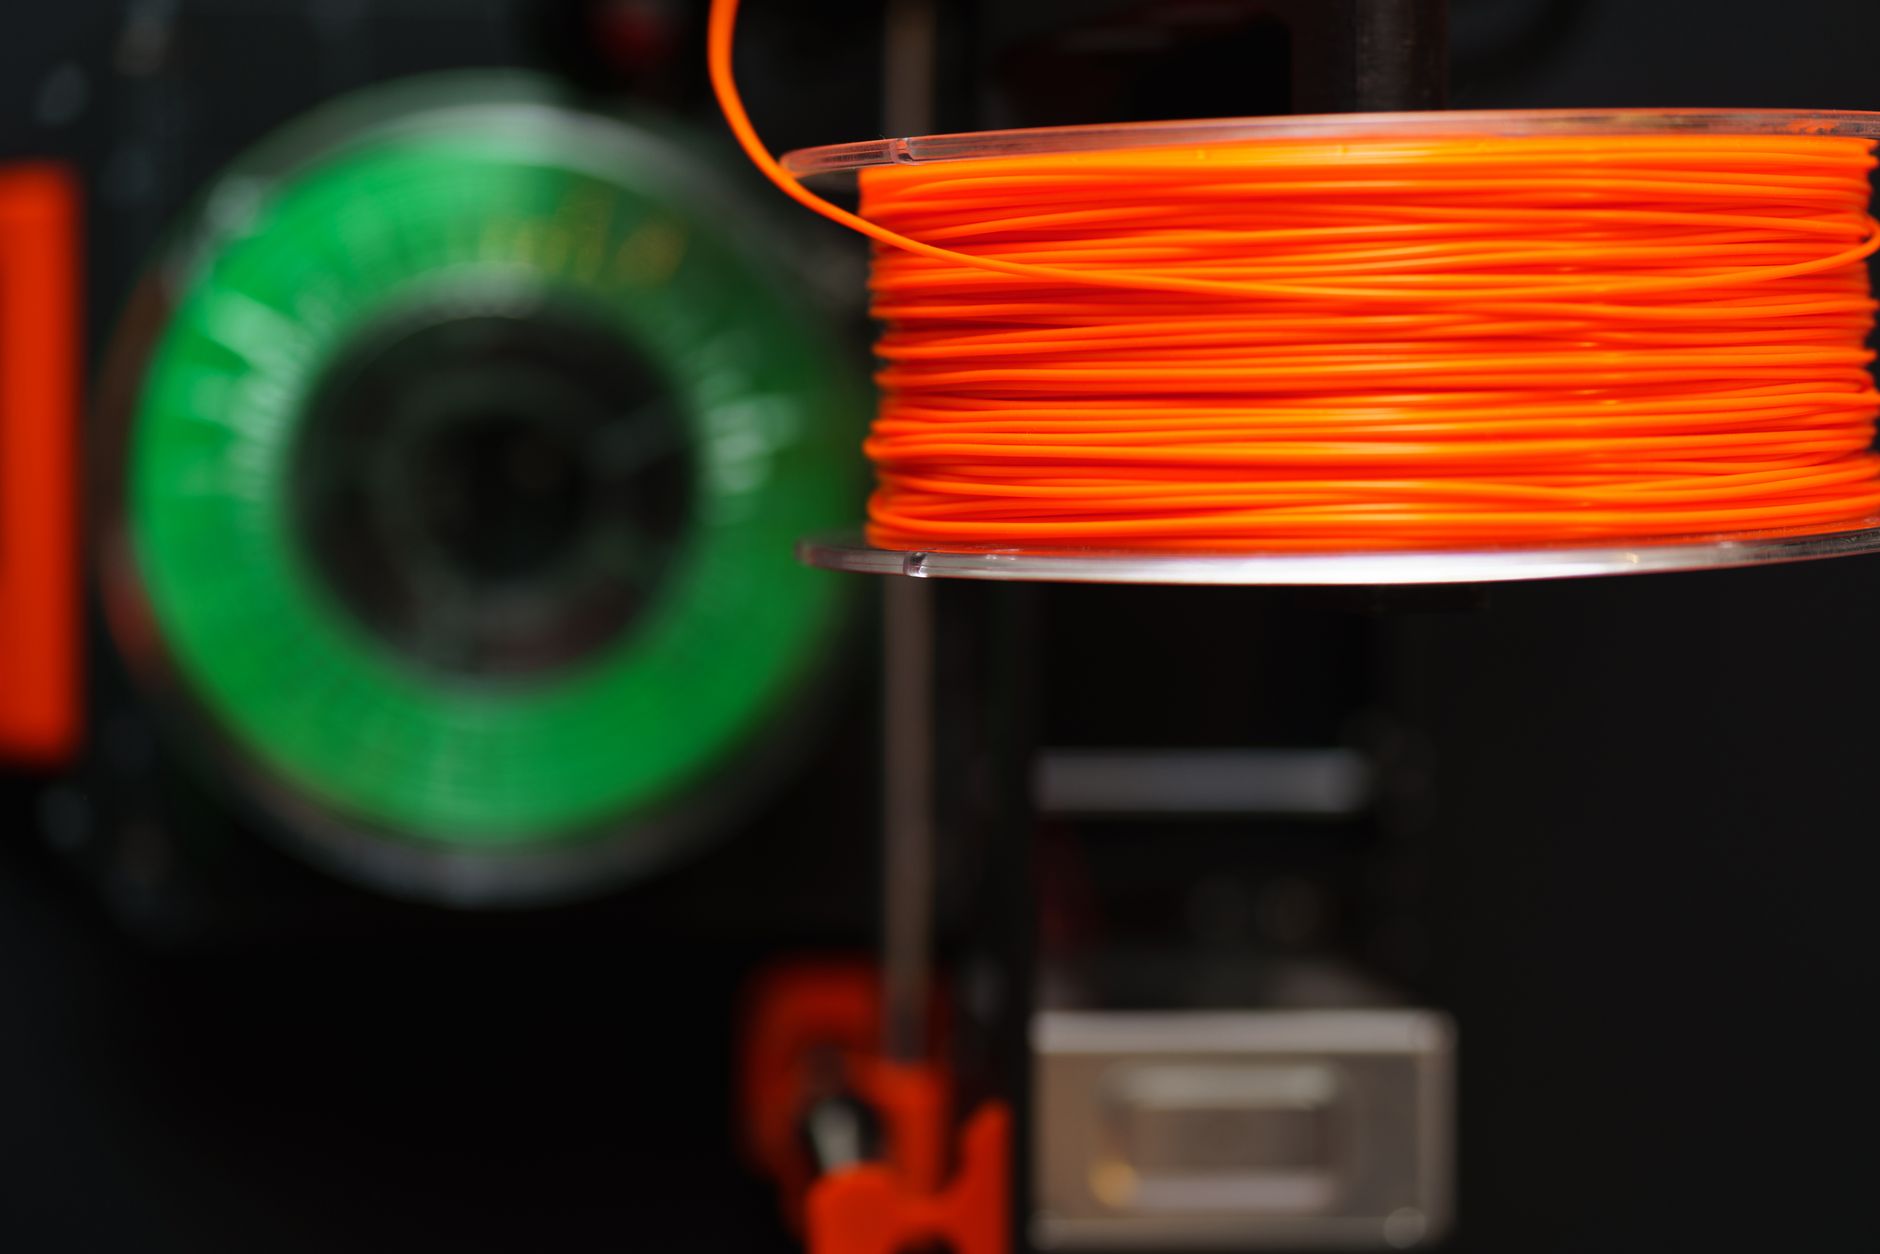
3D printing, also called additive manufacturing, builds a part by depositing or curing material one thin layer at a time. Fused deposition modeling (FDM) is the most common desktop method. It melts thermoplastic filament and traces each layer. Resin printing uses UV light to harden liquid photopolymer. According to Simplify3D’s materials guide, the most popular FDM materials include PLA, ABS, PETG, and TPU. These materials have different strengths, temperature limits, and post processing needs. For a deeper look at material options, see our 3D printing materials guide.
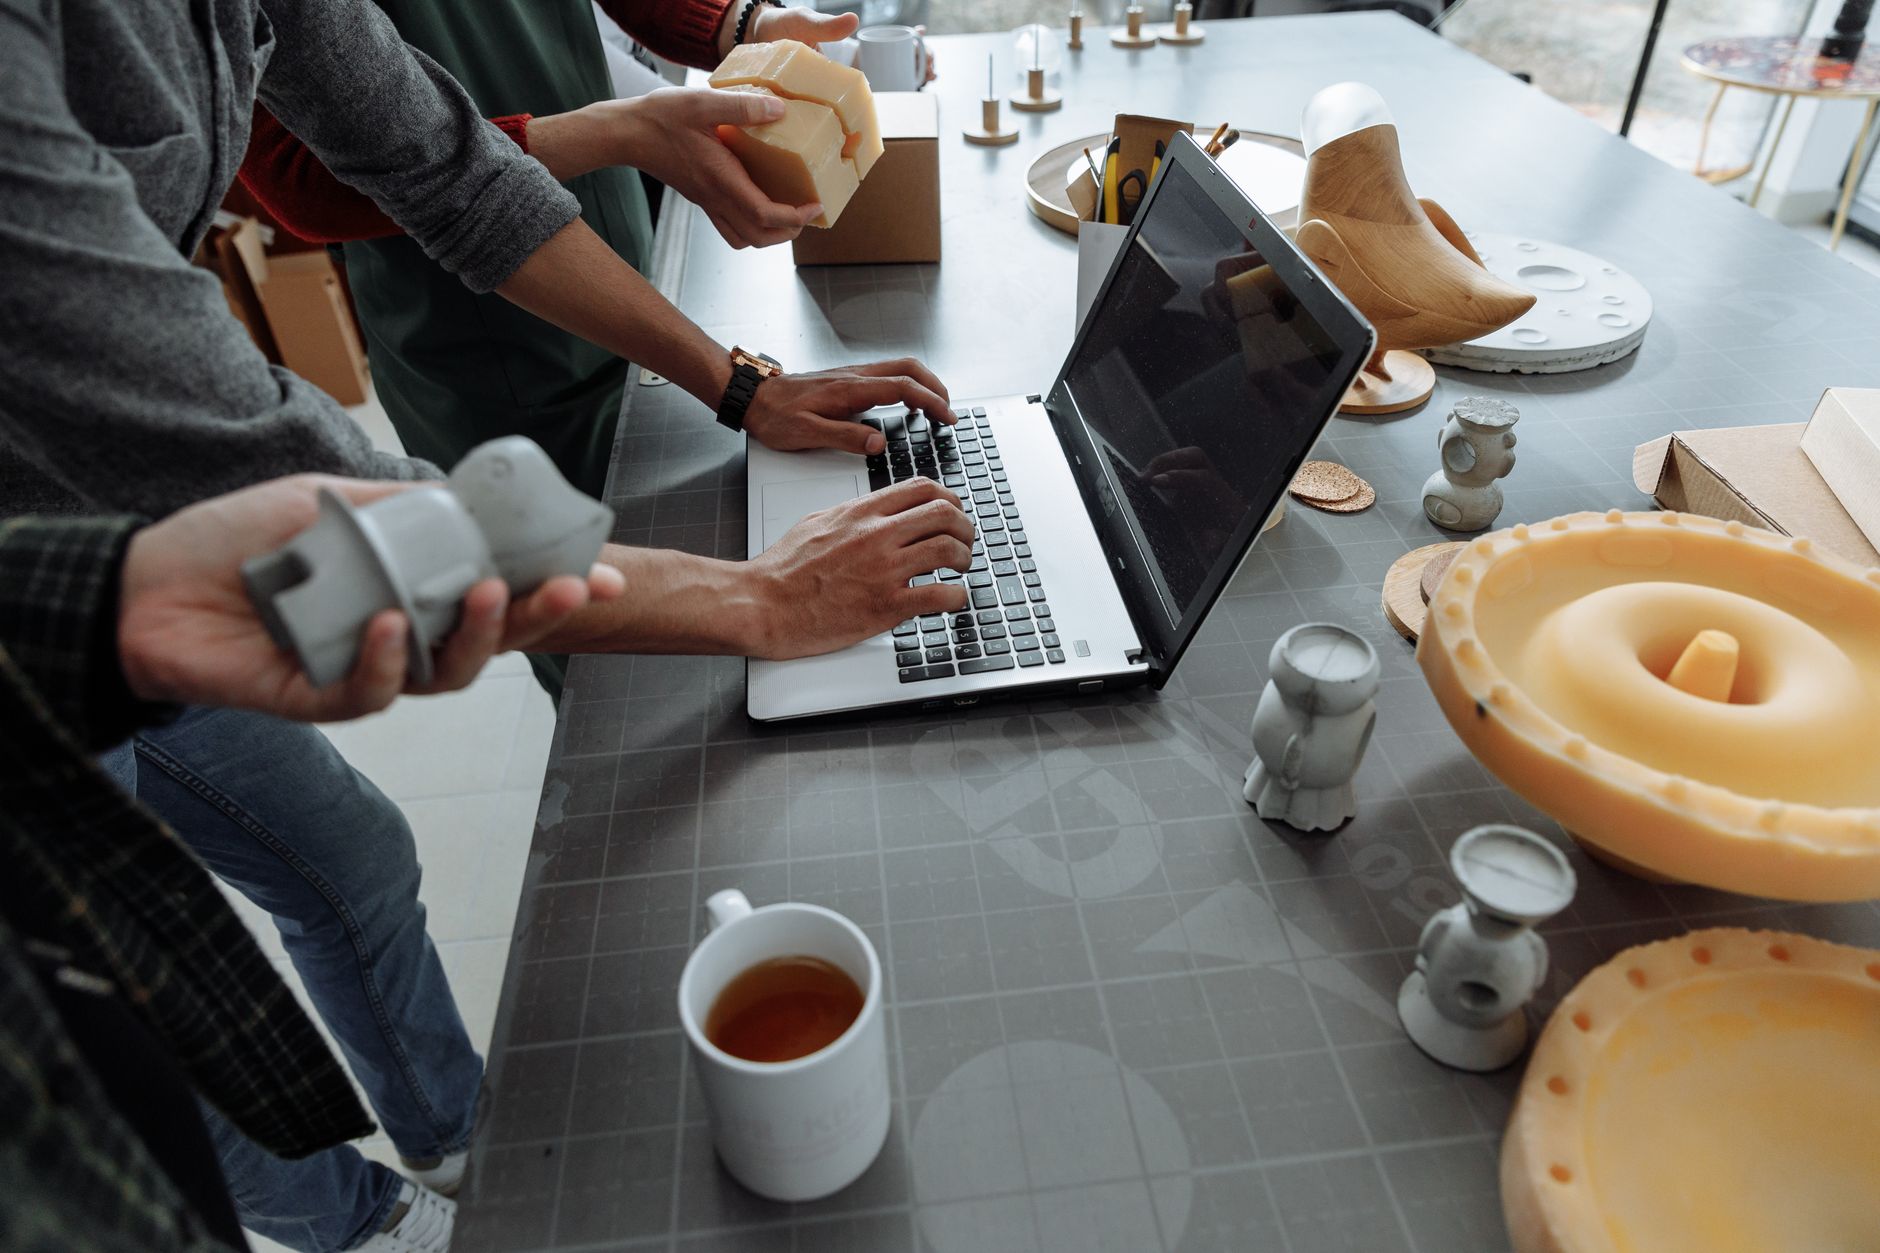
Injection molding starts with a metal mold, usually steel or aluminum. The mold is clamped shut, and molten plastic is injected at high pressure. The part cools, the mold opens, and ejector pins push the finished piece out. The process repeats every 15 to 60 seconds. That speed is why injection molding dominates mass production. But cutting a precise mold requires CNC machining, electrical discharge machining, and skilled labor. Those services cost thousands of dollars before the first usable part exists.
Both processes share the same basic material families, but they use them very differently. Injection molding forces a single shot through a runner system. 3D printing deposits material exactly where the part needs it. That geometric freedom changes design rules, which we cover later.
- FDM printing melts filament and traces each layer.
- Resin printing cures liquid photopolymer with UV light.
- Injection molding injects molten plastic into a mold every 15 to 60 seconds.
What Are the Real Setup Costs for Each Process?
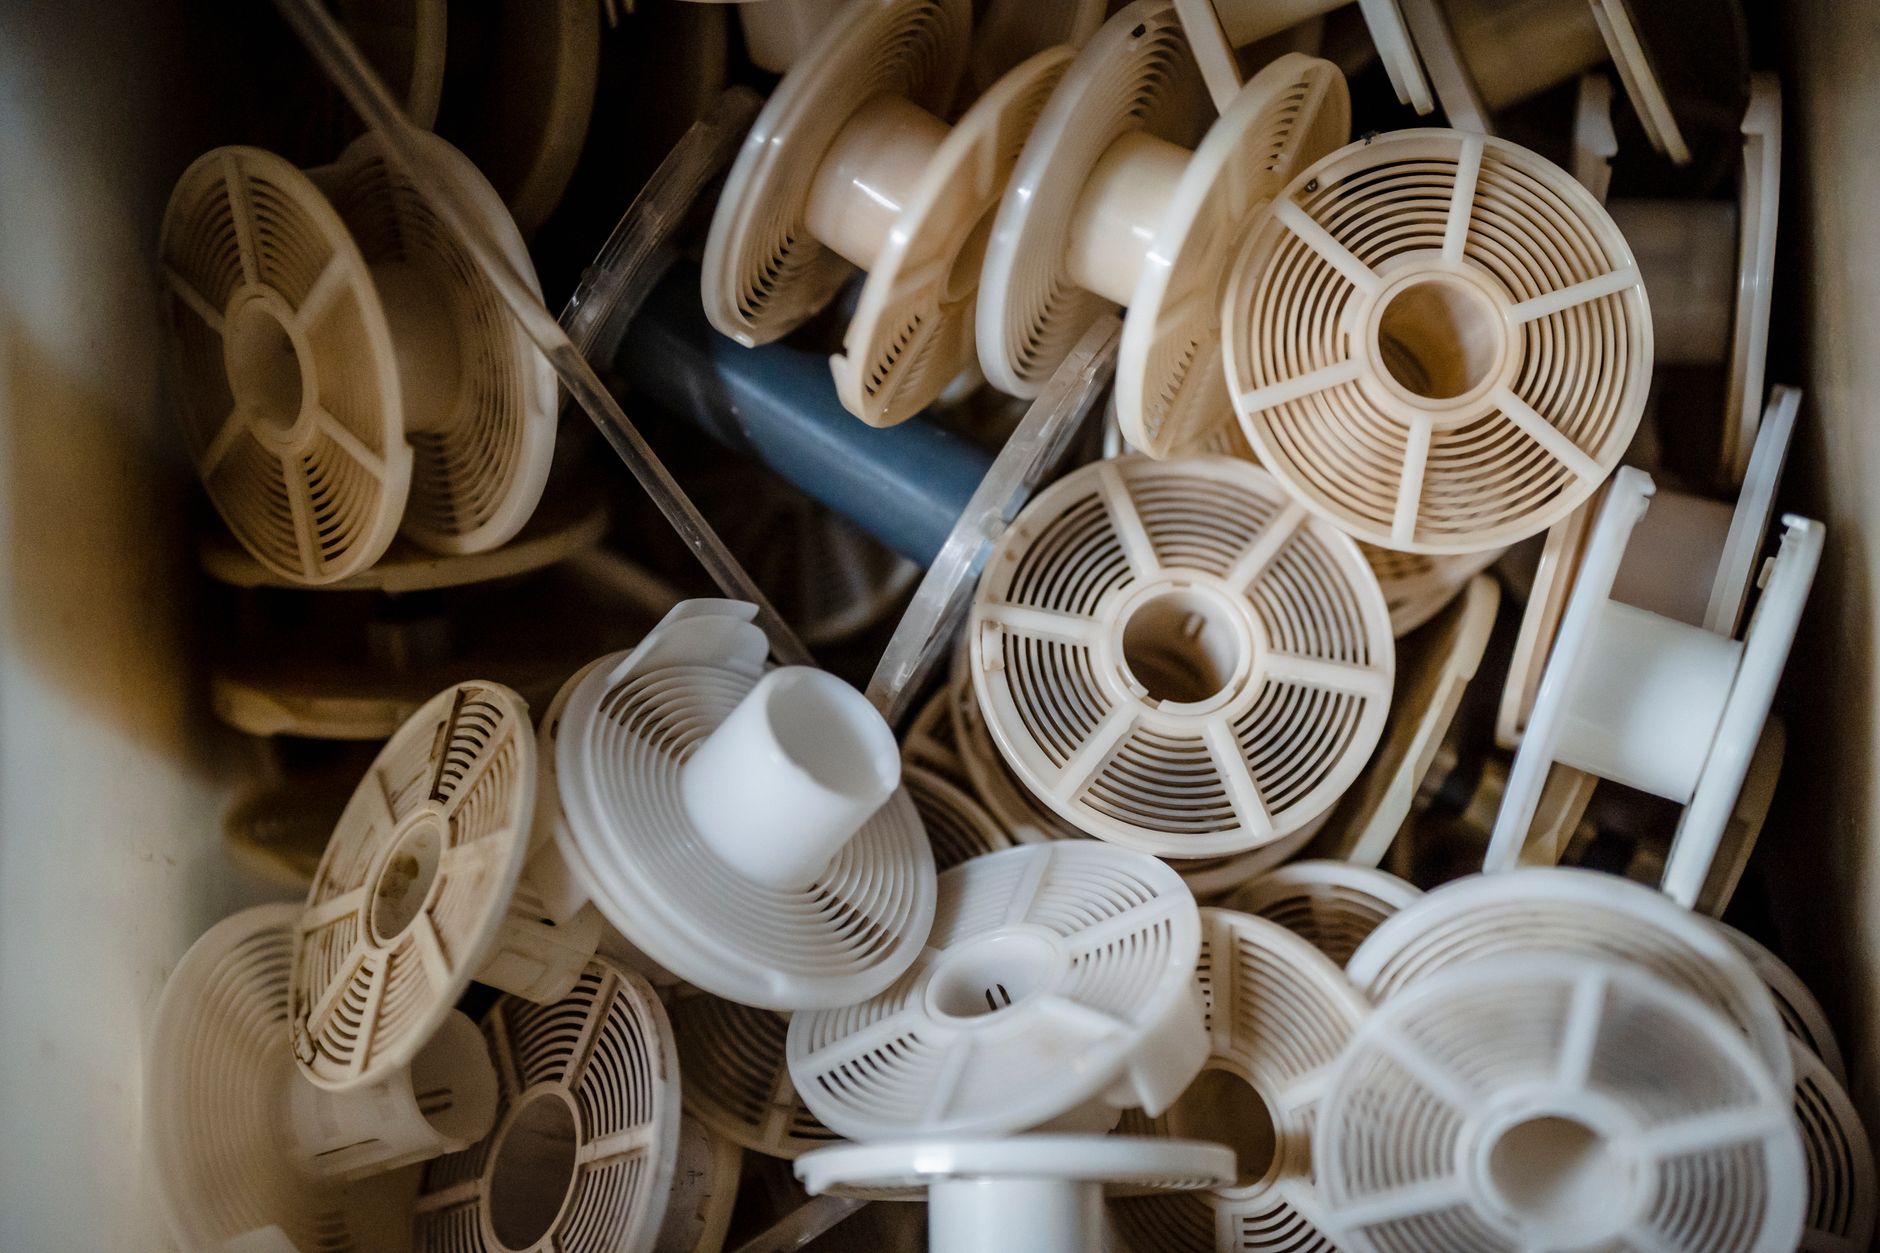
The upfront cost gap is the most obvious difference. A capable desktop 3D printer for functional parts costs between $200 and $1,500. Our guide to the best budget 3D printers covers proven machines in that range. Larger enclosed units like the best enclosed 3D printers run $500 to $2,500 and handle advanced filaments. Even a professional FDM machine rarely exceeds $10,000. That is still far below mold tooling.
Injection mold tooling commonly costs between $5,000 and $100,000 depending on part size, complexity, surface finish, and mold material. A simple aluminum prototype mold might cost $3,000 to $8,000. A multi cavity hardened steel production mold for a complex consumer product can exceed $80,000. These are one time costs, but they dominate early cash flow. If your product design changes after the mold is cut, you may pay for costly mold modifications or a completely new mold.
That setup cost is why injection molding is almost never used for a run of 10 parts. The math simply does not work. But for 50,000 parts, the tooling cost disappears into fractions of a penny per part. At that point, the per unit cost depends almost entirely on material and cycle time. This is the central trade off of the entire comparison.
How Does Cost Per Part Change With Production Volume?
Break even volume is the most useful number in this analysis. For small, simple parts, 3D printing costs between $0.50 and $5.00 per part in material and machine time. Injection molded parts can cost as little as $0.10 to $0.50 each at high volume. But you must add the tooling cost divided by the total number of parts. For example, a $10,000 mold spread across 100,000 parts adds $0.10 per part. That brings the true injection molded cost to roughly $0.20 to $0.60. Now it beats 3D printing dramatically.
The break even point usually falls between 1,000 and 10,000 units, depending on part size. A small connector might break even at 2,000 units. A large enclosure with long print times might break even at 500 units because 3D printing is so slow and material hungry. According to All3DP industry reporting, many product teams treat 10,000 units as the point where injection molding becomes the default choice. Below 1,000 units, additive manufacturing often makes more sense. For small batch production ideas, check our 3D printing business ideas guide.
One often overlooked cost is labor. 3D printing requires part removal, support removal, sanding, and sometimes painting. Those minutes add up. Injection molding parts come out nearly finished, but they may need degating or trimming. For high volume, injection molding also allows automation. For low volume, the labor cost of finishing 100 printed parts is manageable. For 10,000 printed parts, labor can exceed the cost of a simple mold.
Which Process Wins for Prototyping and Iteration?
3D printing dominates early stage product development. Design changes are free in CAD and reprinting takes hours, not weeks. A prototype that fails can be modified and printed again the same day. This is why so many product designers start with a machine from the best 3D printers for beginners or the best 3D printers 2026 list. You do not need a mold to test form, fit, and basic function.
Injection molding is terrible for iteration. Changing a mold after it has been cut can cost hundreds or thousands of dollars. If the change requires removing material, it may be impossible. If it requires adding material, you may need welding and re machining. A new mold can take two to eight weeks. That timeline kills fast product development. Some companies use aluminum prototype molds to reduce cost and lead time, but even those still take days to weeks and cost thousands.
The smart workflow is to 3D print prototypes until the design is stable, then invest in injection molding for production. That hybrid approach uses each process for what it does best.
When Does Injection Molding Become the Clear Choice?
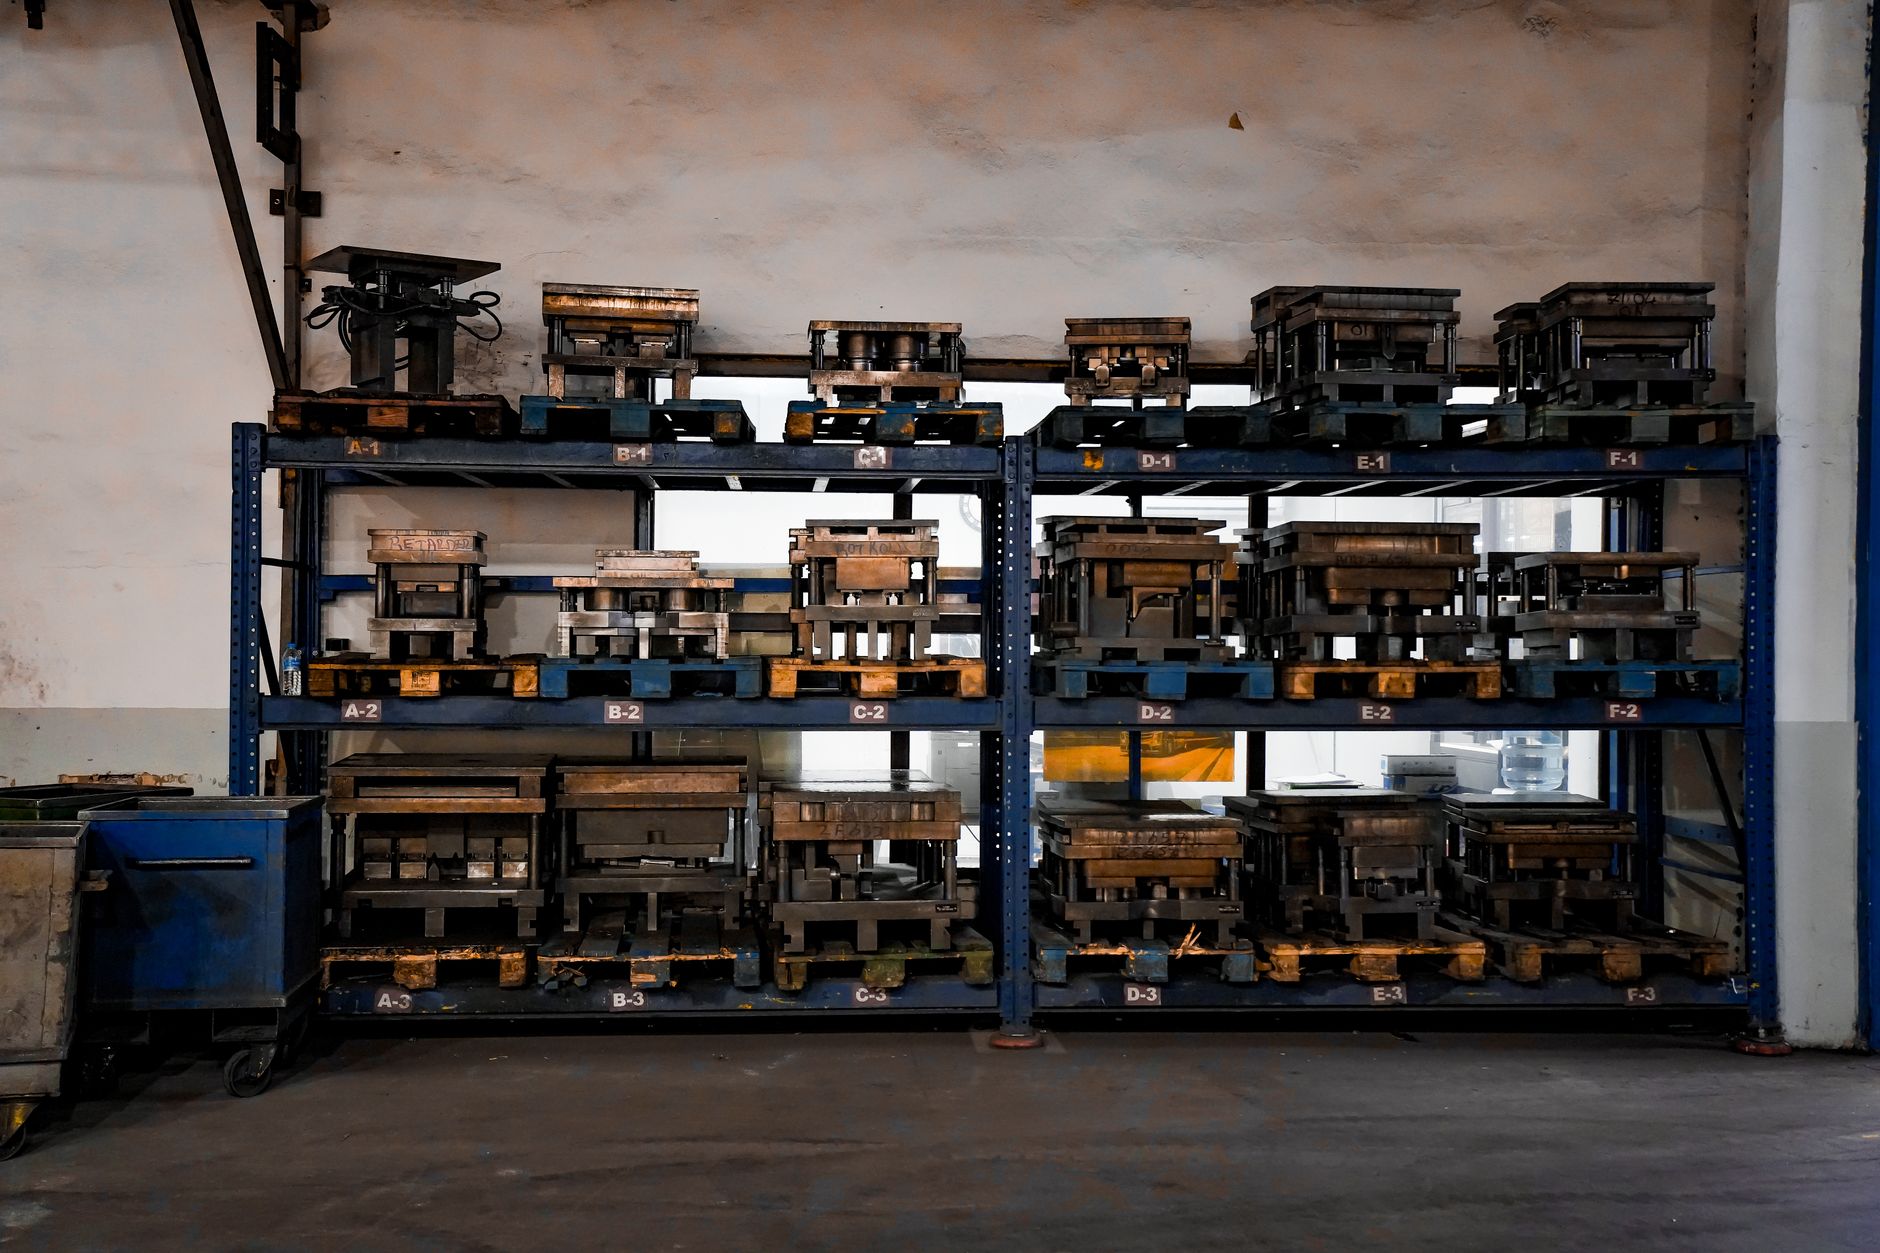
Injection molding becomes the clear choice when you need thousands of identical parts with tight tolerances and a smooth surface finish. It also wins for materials that are difficult to 3D print, such as glass filled nylon or certain medical grade resins. Injection molding cycles are measured in seconds, while a single FDM part can take hours. That productivity gap is enormous at scale. Ultimaker notes that professional FDM machines still cannot match the repeatability of a steel mold over long production runs.
Bambu Lab’s latest printers have closed some of the speed gap with high flow hotends and multi color systems. You can check the current lineup at Bambu Lab. Even so, a fast desktop printer might make a small part in 20 minutes. A multi cavity injection mold can make 16 of those parts in 30 seconds. At 100,000 units, the injection molding machine wins by weeks of production time. For high volume, there is no realistic contest.
Material cost also favors injection molding at volume. Plastic pellets cost less per pound than filament or resin. A kilogram of PLA filament might cost $20 to $30, while the same polymer in pellet form costs $2 to $5. Injection molding wastes almost no material because sprues and runners can be reground and reused. 3D printing often wastes support material and failed prints. That waste adds up fast.
What Are the Hidden Costs and Lead Time Differences?
Lead time is a hidden cost that often decides the process. 3D printing can start minutes after you slice the file. Injection molding requires mold design, CNC programming, machining, polishing, and testing. A production mold can take 4 to 12 weeks. That delay can cost you a product launch window. For bridge production, many companies use 3D printing while the mold is being made. Keeping your printers healthy during that period matters, and routine upkeep is simple.
Post processing is another hidden cost. FDM parts show layer lines and may need sanding, filling, and painting. Resin prints need washing and curing. Injection molded parts come out with a consistent surface finish straight from the mold. You can specify textures like SPI D3 directly on the tool. That eliminates secondary finishing costs at scale. Making printed parts look injection molded takes extra work, especially for high gloss or textured surfaces.
Quality control also differs. Injection molding produces highly repeatable dimensions across millions of shots. 3D printing varies more from part to part due to humidity, nozzle wear, and bed leveling. You can reduce those variables with good filament storage and machine upkeep. For certified products, injection molding’s traceability and consistency are often required.
Frequently Asked Questions
What is the break even volume for 3D printing vs injection molding?
Most products break even between 1,000 and 10,000 units. Small parts with long print times may justify injection molding at 500 units. Large simple parts may favor 3D printing up to 20,000 units.
Can 3D printing replace injection molding for production?
Yes for low volume, custom, or on demand production. For high volume identical parts, injection molding is far more cost effective and repeatable.
How much does an injection mold cost?
A simple aluminum mold can cost $3,000 to $8,000. A hardened steel production mold typically costs $20,000 to $100,000 or more depending on complexity.
How fast is 3D printing compared to injection molding?
3D printing takes minutes to hours per part. Injection molding cycles take 15 to 60 seconds per shot, and multi cavity molds produce several parts per shot.
What materials work for both processes?
Common thermoplastics like ABS, polycarbonate, nylon, and polypropylene work in both. Some filled or high performance resins are easier to injection mold than print.
Is 3D printing ever cheaper per part than injection molding?
Yes for runs under roughly 1,000 parts because there is no tooling cost. The per part material and labor cost is higher, but you avoid the multi thousand dollar mold.
What Should You Remember?
- 3D printing wins for prototypes and runs under about 1,000 parts due to zero tooling cost.
- Injection molding wins at high volume because tooling cost spreads thin across thousands of parts.
- A typical injection mold costs $5,000 to $100,000 upfront, while a decent 3D printer costs $200 to $2,500.
- Break even volume usually falls between 1,000 and 10,000 units depending on part size and complexity.
- Lead time for 3D printing is hours, while injection molding tooling takes 4 to 12 weeks.
- Material waste and post processing costs can erase 3D printing savings at scale.
- Use a hybrid workflow: 3D print prototypes, then invest in a mold once the design is stable.
This article is for general information only. Always follow your printer manufacturer’s guidelines and material safety data sheets (MSDS) for safe operation.