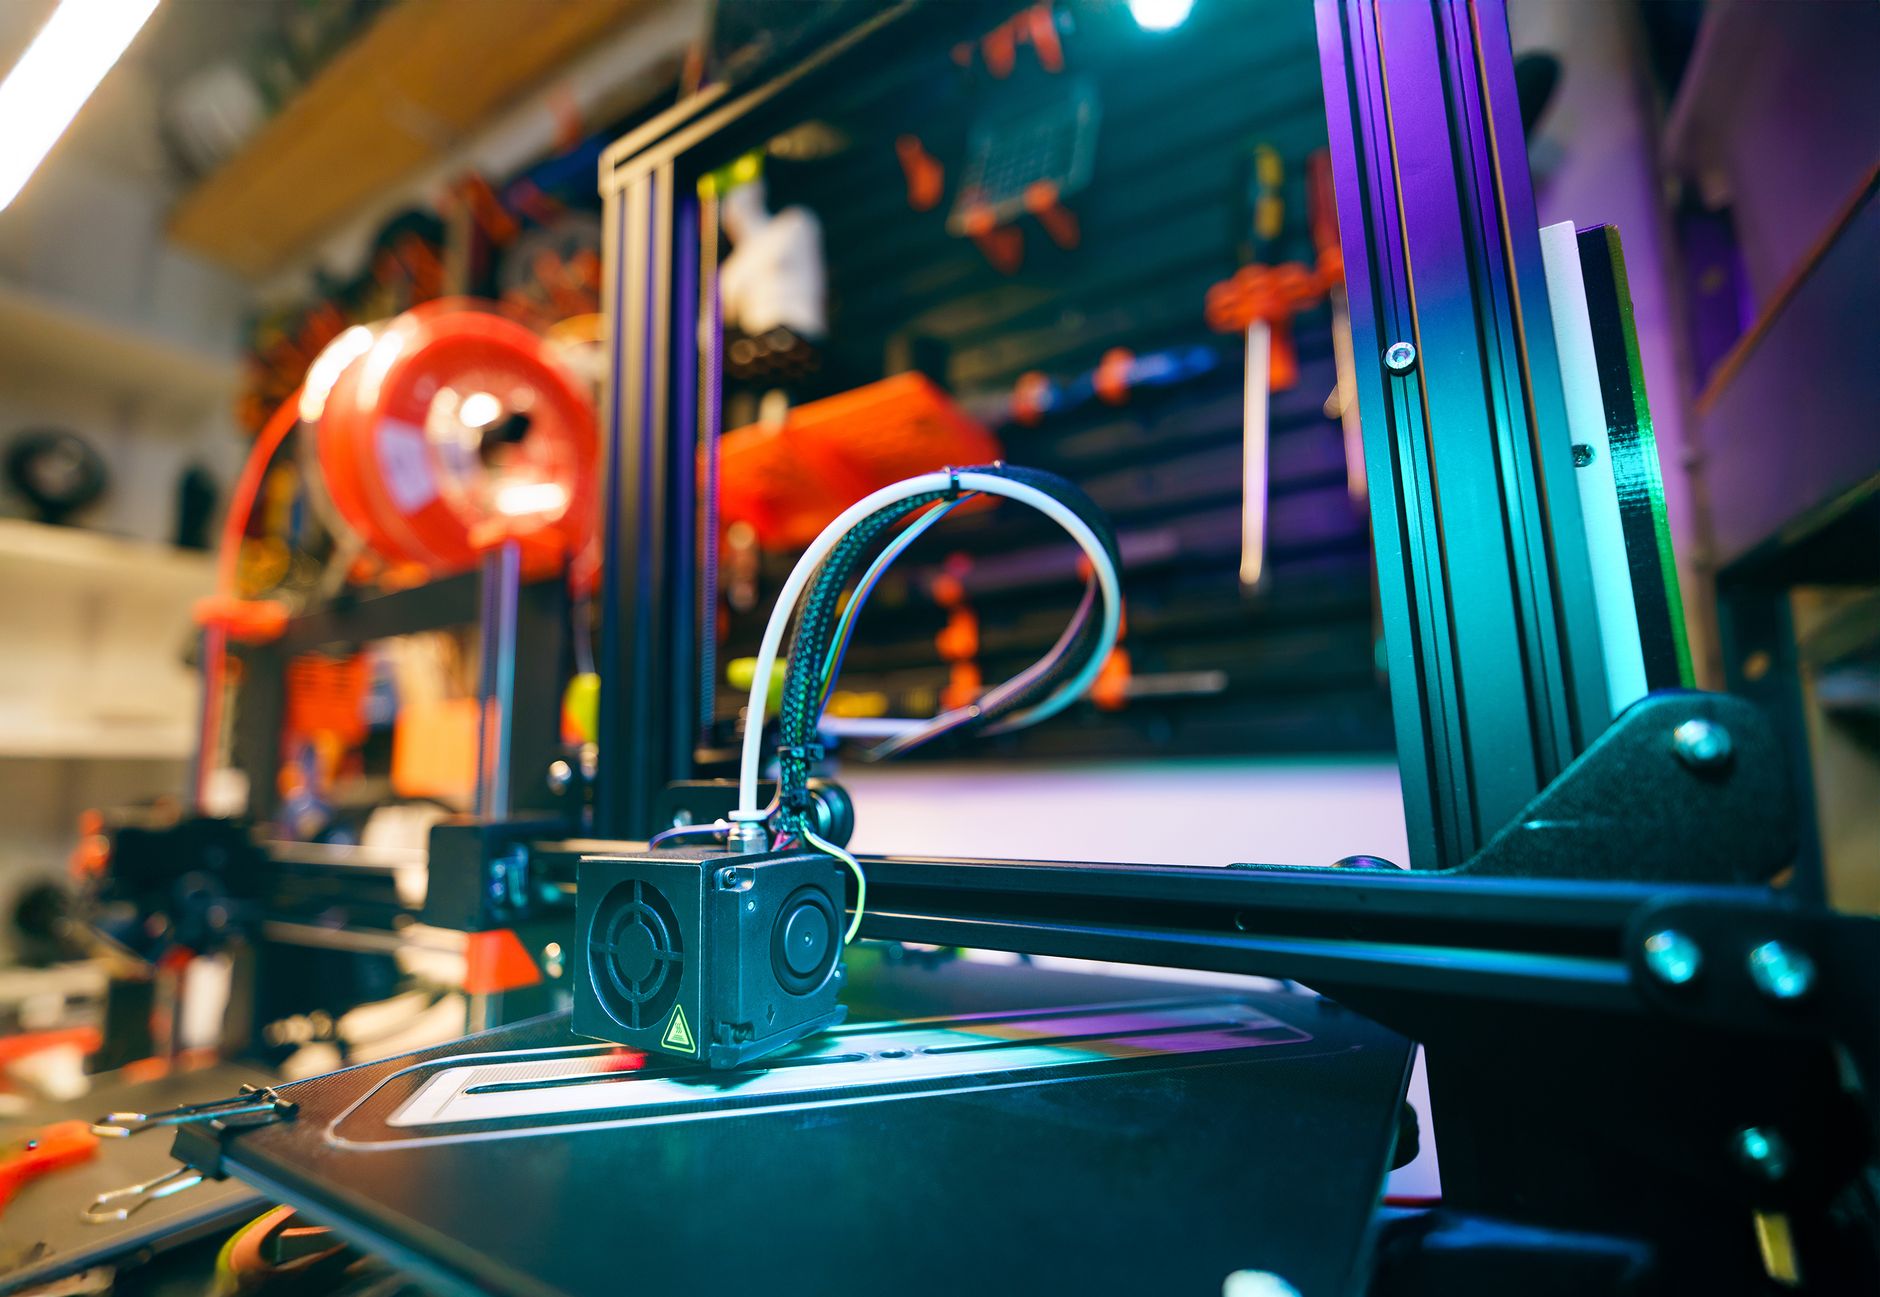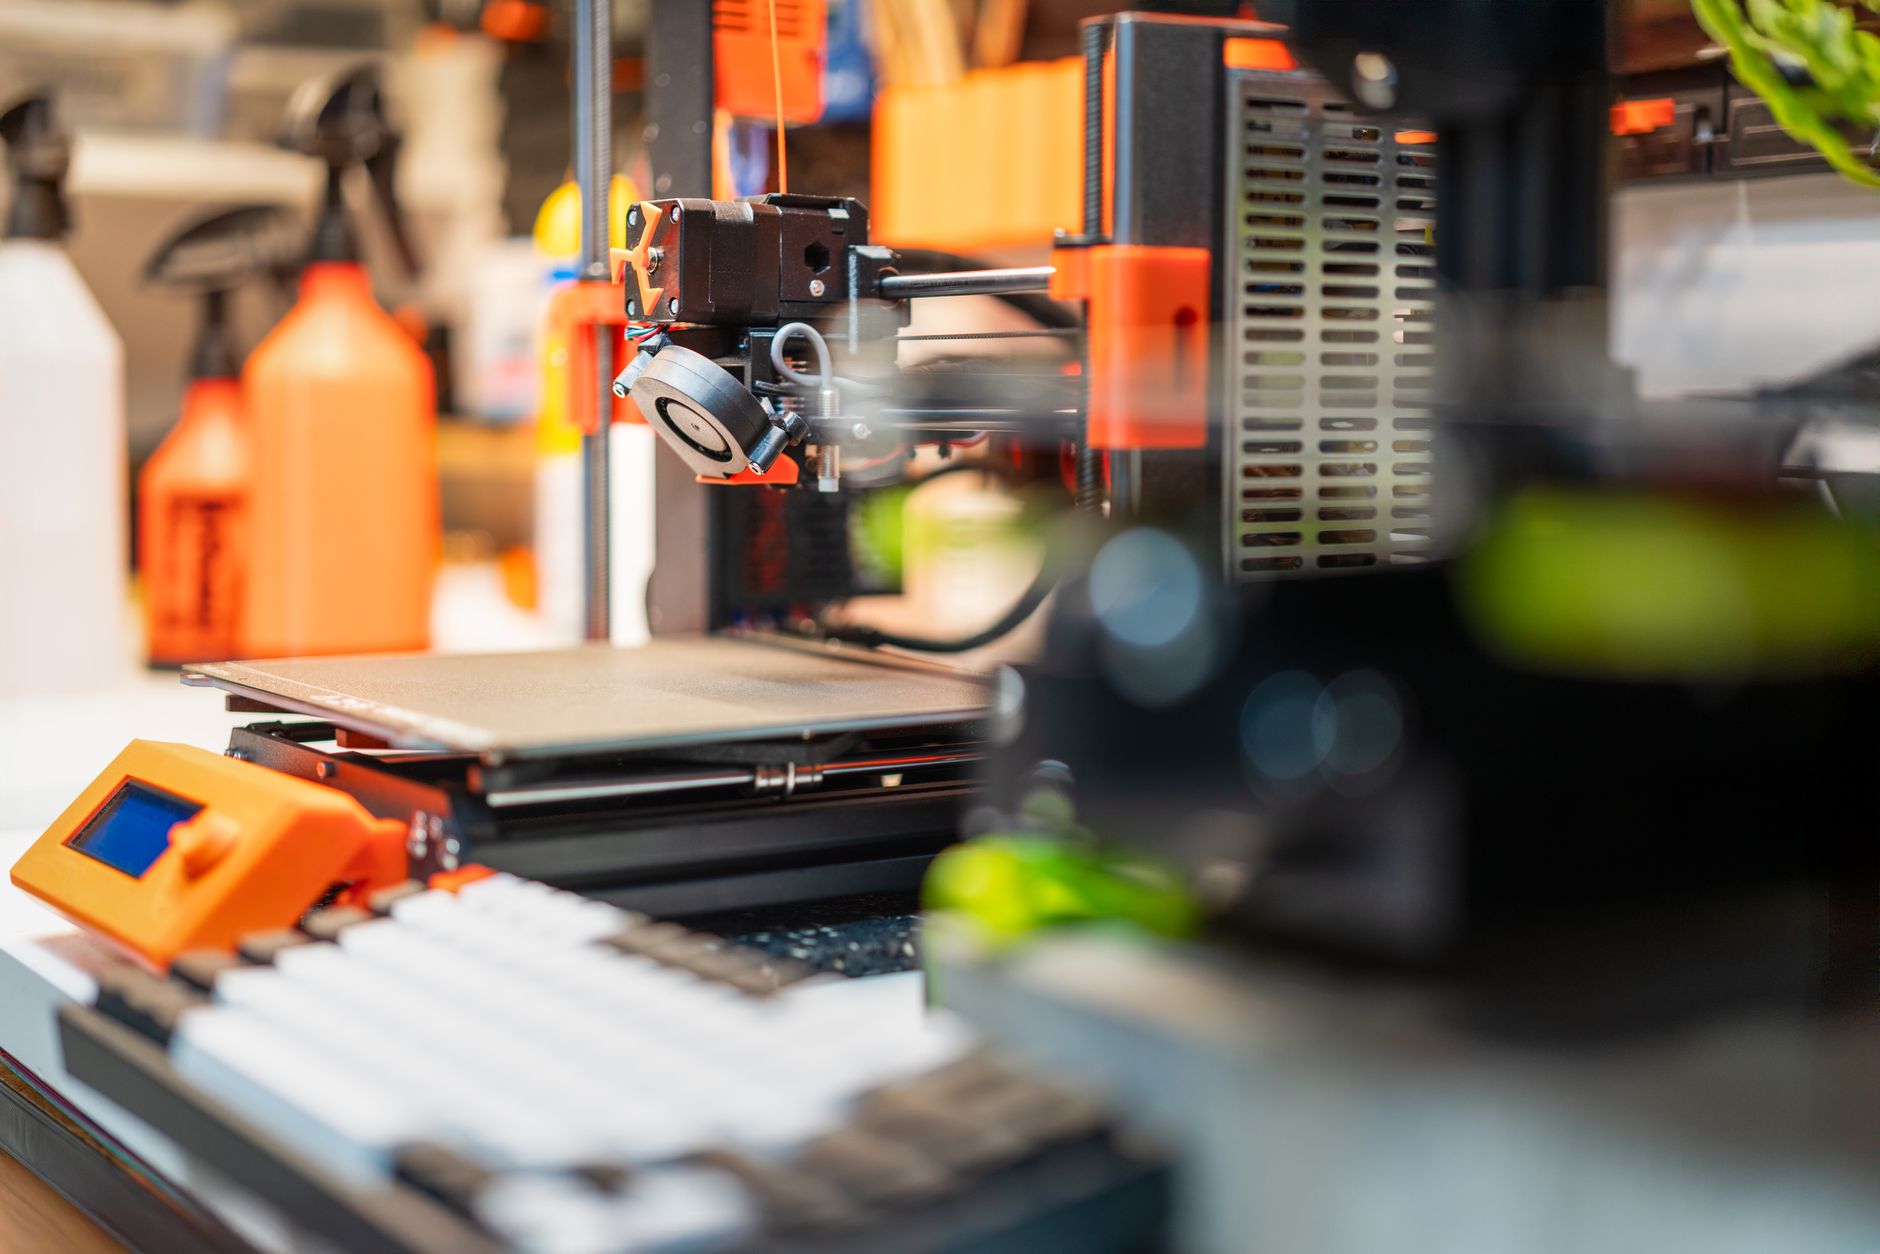
Most printers are good out of the box, but the 2026 market pushes speed and precision. The best 3D printers 2026 still leave room for tweaks because manufacturers cut costs in predictable places. You get stamped metal brackets, basic PTFE-lined hotends, and loud stepper drivers. A few well-chosen upgrades can fix these without a full printer replacement. This guide ranks eight upgrades that actually justify their cost. We ignored cosmetic lighting and printed cable chains unless they had a functional return.
What counts as worth it changed. Three years ago people chased silent boards and BLTouch clones. Now Klipper firmware, direct drive extruders, and all-metal hotends are the baseline for serious printing. If you print mostly PLA, you may not need everything on this list. But if you want PETG, ABS, TPU, or just faster, the order matters. We tested these on a 24V Ender 3 style machine and cross-checked specs against current open-source documentation. For material temperatures, the Simplify3D filament guide lists exact ranges for common filaments. Bambu Lab’s current lineup also shows where stock speed is heading.
Some upgrades require firmware changes. Others are mechanical. We judged each one by reliability improvement, ease of installation, and whether it fixes a known failure point. A noisy fan is annoying, but a clogged heat creep hotend will ruin an overnight print. That distinction matters. You can still start with a stock printer and learn the basics. If you already know first-layer issues, this list will help you spend where it matters. Check your maintenance routine before you modify anything.
There is no single upgrade that fixes a badly assembled frame. Square your gantry, tighten your belts, and calibrate your e-steps first. Then invest in the upgrades below. The order starts with the most impactful for speed and reliability, not the cheapest. Some of these parts, like the Creality Spider hotend, now ship stock on newer machines. If you bought a budget printer from our best budget 3D printers list, these eight changes can bring it close to a modern midrange machine.
How Do the Top Options Compare?
| Upgrade | Best For | Price | Spec Highlight | Difficulty |
|---|---|---|---|---|
| Creality Sonic Pad | Klipper speed and remote control | $159 | Runs Klipper, 7-inch touchscreen, supports up to 4 printers | Moderate |
| BIQU H2 V2S Direct Drive Extruder | Flexible filaments and shorter retractions | $89 | Dual-drive gears, compact direct drive, E3D V6 compatible | Moderate |
| Creality Spider 3.0 Pro Hotend | High-temperature materials up to 300°C | $49 | All-metal, 300°C, 0.4mm nozzle, bi-metal heat break | Easy |
| Creality CR Touch | Consistent first layers | $39 | 0.005mm height resolution, auto bed leveling | Easy |
| Raspberry Pi 5 with OctoPrint or Klipper | Remote monitoring and print farm control | $60 | Quad-core ARM, OctoPrint, remote monitoring | Moderate |
| Creality Fireproof Enclosure | ABS, ASA, and stable chamber temperatures | $69 | Fire-resistant, 600x600x720mm, keeps heat in | Easy |
| Sunlu S2 Filament Dryer | Wet filament and moisture-prone materials | $65 | 55°C to 70°C drying, fits 2 spools, 360° rotation | Easy |
| Bondtech CHT 0.4mm Nozzle | Higher flow at standard temperatures | $25 | High flow, split design, 0.4mm, up to 40% more melt rate | Easy |
Prices are approximate as of January 2026. Difficulty assumes you can use basic hand tools, follow a wiring diagram, and flash firmware if needed. Some upgrades require a 24V power supply or printed mounting brackets.
1. Creality Sonic Pad , Klipper speed and multi-printer control
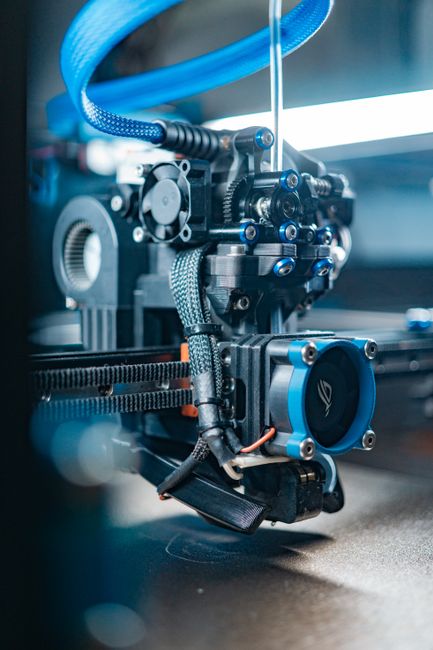
The Sonic Pad replaces a printer’s stock screen and runs a dedicated Klipper controller. It connects over USB serial, so you keep your existing mainboard while moving motion planning to the pad. The 7-inch touchscreen gives real-time control, webcam preview, and remote file uploads. This is the fastest way to get Klipper without building a Raspberry Pi setup. Check the Creality Sonic Pad on Amazon. For many users, it is the single biggest speed upgrade in 2026.
Klipper’s input shaping reduces ringing, so you can raise acceleration and print speed on a stock Ender 3. A machine that normally tops out around 60mm/s can hold 150mm/s to 250mm/s with a good hotend and part cooling. The Sonic Pad also supports up to four printers, which matters for print farms. You can calibrate each machine from one panel and start jobs without swapping SD cards.
The downside is setup. You may need to flash new Klipper firmware to your printer’s mainboard. Creality’s wizard handles many of its own boards, but off-brand boards take manual configuration. The pad also uses a proprietary Klipper fork, so it lags behind latest mainline Klipper releases. For someone who wants a single dedicated controller, it is still worth the price.
Key strengths:
- ✅ Increases print speed to 150mm/s or more on many open-source printers
- ✅ Runs Klipper with input shaping and pressure advance
- ✅ Supports up to four printers from one 7-inch touchscreen
- ✅ Much easier than building a Raspberry Pi Klipper setup
- ❌ Proprietary Klipper fork lags behind mainline updates
- ❌ Initial firmware flashing can brick a board if done wrong
- ❌ Not useful for Bambu Lab printers that already use closed firmware
Who it’s for: Makers who want Klipper speed and remote control without assembling a Raspberry Pi.
2. BIQU H2 V2S Direct Drive Extruder , Flexible filaments and shorter retractions
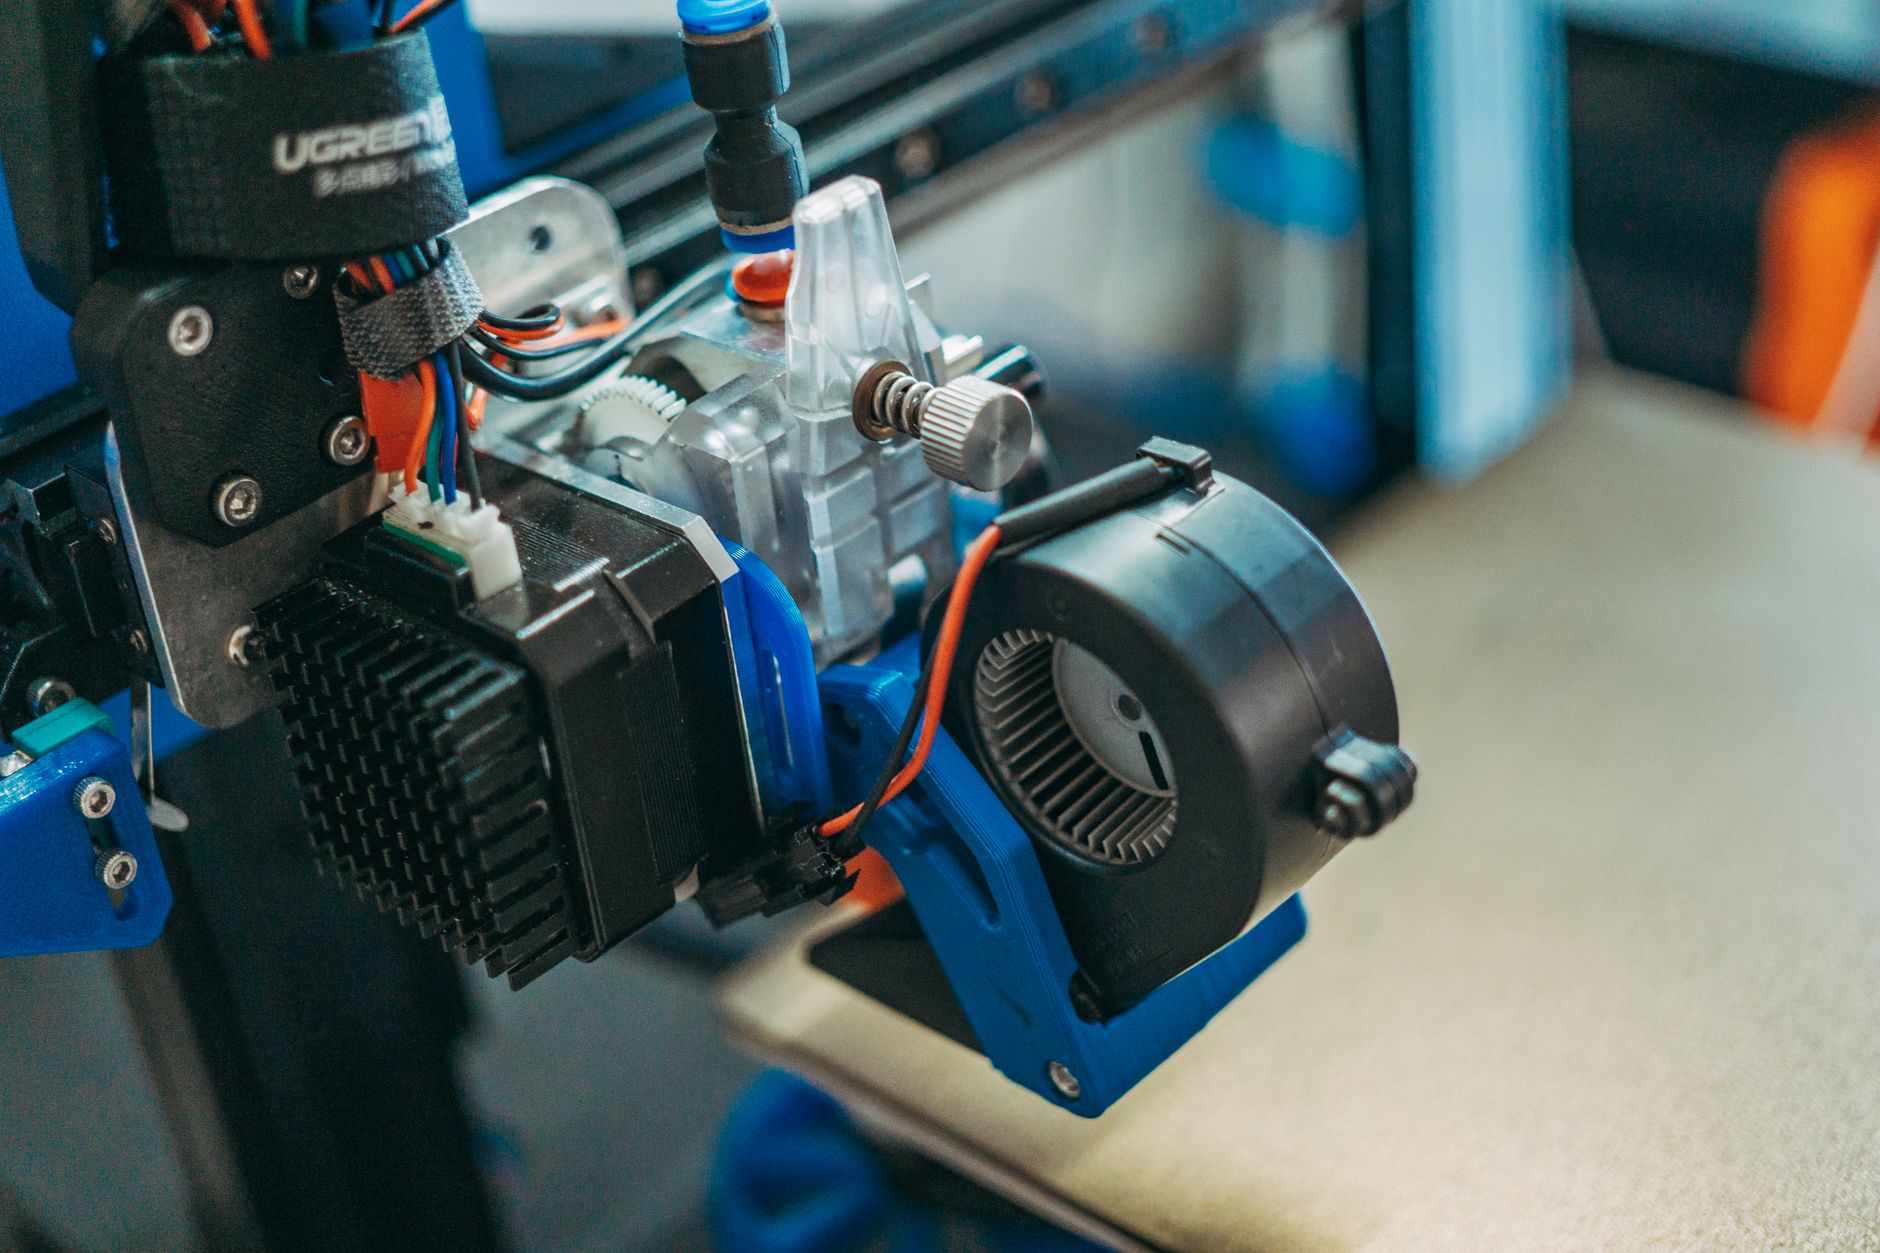
The BIQU H2 V2S is a dual-gear direct drive extruder that replaces the stock Bowden setup. It weighs about 190 grams, so you do not add too much mass to the print head. The short filament path reduces retraction distance from 6mm down to 1mm or less. This makes TPU and other flexible materials printable on an Ender 3. Check the BIQU H2 V2S on Amazon.
Direct drive also helps with PETG and abrasive filaments because the filament has less distance to buckle. You need to recalibrate e-steps and adjust retraction after installation, but the process takes under an hour. The included mounting bracket fits Ender 3, CR-10, and many 2020 extrusion printers. A direct drive setup can expose z-wobble more than Bowden, so your z-axis needs to be straight. Our guide on PLA vs PETG vs ABS explains why PETG’s stringing improves dramatically with short retractions.
The downside is that the motor sits on the gantry, so you add weight. Fast printing over 150mm/s may require more acceleration tuning. The all-metal hotend in the V2S handles higher temperatures than stock, but you should not confuse it with a true high-flow hotend. For flexible parts, it is one of the best upgrades you can buy.
Key strengths:
- ✅ Dual-gear grip reduces skipping on flexibles
- ✅ Short filament path cuts retraction distance to under 1mm
- ✅ Lighter than many direct drive conversions
- ✅ Works with common Ender 3 and CR-10 mounts
- ❌ Adds weight to the print head
- ❌ Requires e-step and retraction recalibration
- ❌ May not fit printers with proprietary toolheads
Who it’s for: Makers who want to print TPU, PETG, or reduce stringing on a Bowden printer.
3. Creality Spider 3.0 Pro Hotend , High-temperature materials up to 300°C
The Creality Spider 3.0 Pro is an all-metal hotend with a bi-metal heat break. That means the PTFE tube stops above the heat break, so the filament melts at higher temperatures without burning the tube. You can safely print PETG, ABS, ASA, polycarbonate, and some nylons without releasing PTFE fumes. Check the Creality Spider 3.0 Pro Hotend on Amazon. The stock hotend on many budget printers degrades above 240°C.
This hotend supports up to 300°C, which is enough for most advanced materials. The copper alloy heater block spreads heat more evenly than aluminum, and the 0.4mm nozzle is replaceable. The Simplify3D filament guide lists ABS bed temperatures from 90°C to 110°C and hotend temperatures from 220°C to 250°C. A stock PTFE-lined hotend will degrade if you run those temperatures for long prints.
Installation is simple on Creality printers because the mounting holes line up with the stock carriage. You will need to re-tune PID values and possibly adjust z-offset. All-metal hotends can clog more often with PLA if your retraction is too long because heat creeps up. Use shorter retractions and part cooling. Read the 3D printing materials guide before trying PC or nylon. This upgrade is not the highest flow on the market, but it is reliable and inexpensive.
Key strengths:
- ✅ Prints up to 300°C without PTFE fumes
- ✅ Bi-metal heat break reduces heat creep
- ✅ Drop-in fit for many Creality printers
- ✅ Copper alloy block distributes heat evenly
- ❌ PLA can clog if retraction settings are too high
- ❌ Not a high-flow hotend for 250mm/s speeds
- ❌ Requires PID tuning after install
Who it’s for: Makers who want to print PETG, ABS, ASA, or nylon without upgrading the whole printer.
4. Creality CR Touch Auto Bed Leveling , Consistent first layers
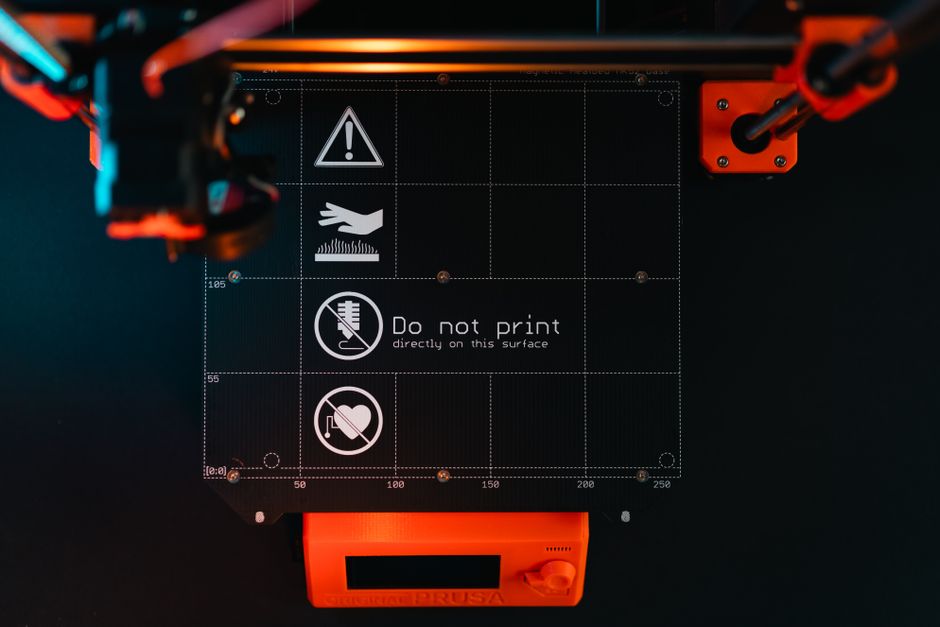
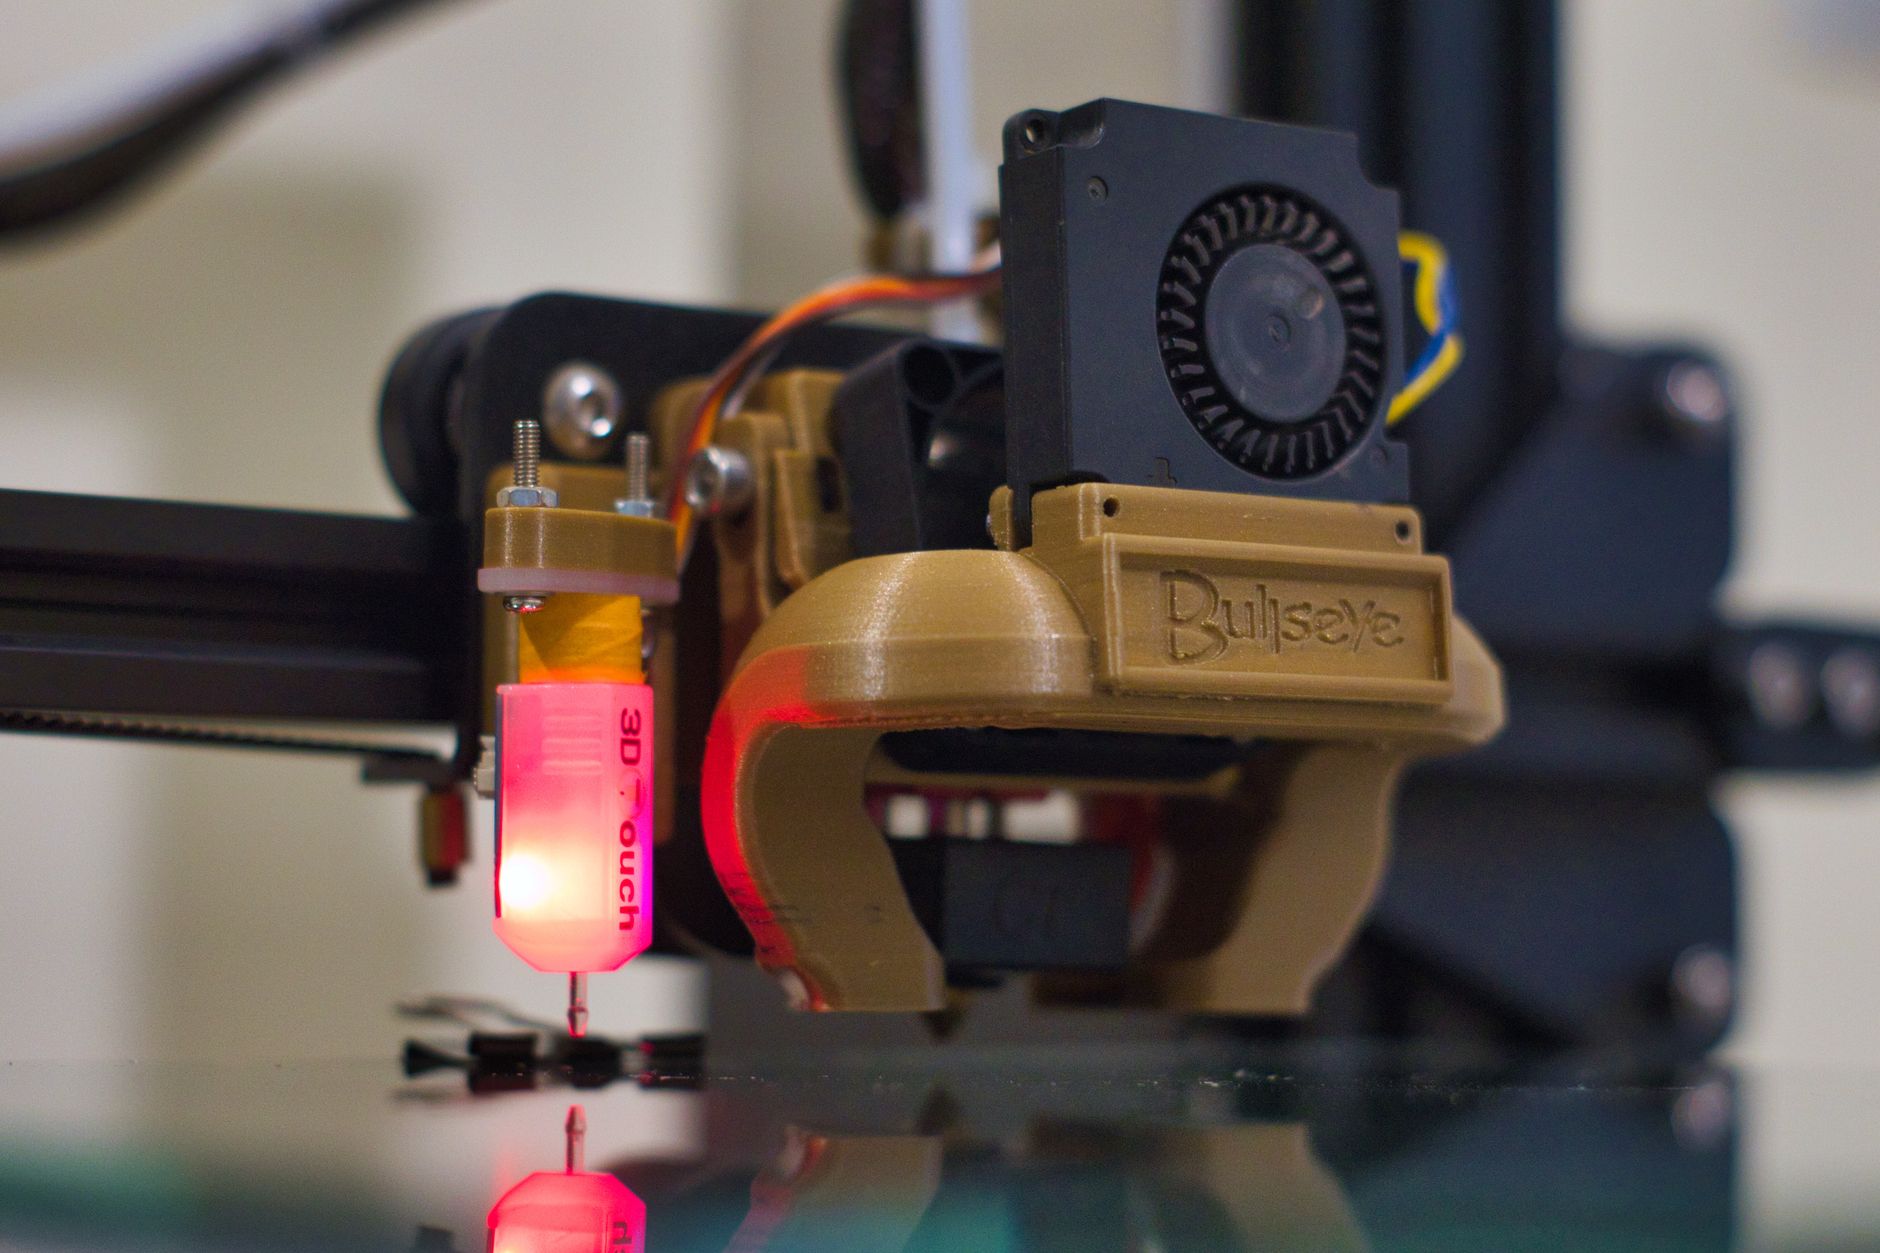
The CR Touch is Creality’s take on a BLTouch-style bed leveling probe. It uses a physical pin that touches the bed and sends a trigger signal to the firmware. The probe has a height resolution of 0.005mm, so it builds a much finer mesh than manual paper leveling. It installs on the print head with a small bracket and connects to the mainboard’s probe port. It is one of the cheapest upgrades that actually saves failed prints.
If your bed is warped or slightly tilted, the mesh compensates for the difference. You still need to level the bed roughly and set z-offset once. After that, the probe checks multiple points before each print. This matters more than many people expect because ambient temperature changes and spring wear can shift the bed by 0.1mm between sessions. First-layer height is critical for bed adhesion and successful prints.
The downside is that the pin can snag on a curled part and bend if you do not set the probe height correctly. Replacement pins are cheap, but it is still an annoyance. The CR Touch is also not a fully automatic leveling system. You still need to adjust the bed springs or silicone spacers occasionally. Pair it with stiffer bed springs for best results.
Key strengths:
- ✅ Probes with 0.005mm height resolution
- ✅ Compensates for warped or tilted beds
- ✅ Simple 20-minute install on many Creality boards
- ✅ Prevents first-layer failures that waste filament
- ❌ Requires firmware support or reflash
- ❌ Probe pin can bend if it catches a curled print
- ❌ Does not physically level the bed
Who it’s for: Makers tired of manual bed leveling and first-layer failures.
5. Raspberry Pi 5 with OctoPrint or Klipper , Remote monitoring and print farm control
The Raspberry Pi 5 gives you a full Linux machine for running OctoPrint or Klipper. It is faster than the older Pi 4 and handles multiple webcam streams without stalling. You can upload gcode from a browser, watch a live feed, and cancel a failed print from your phone. If you want to manage more than one printer but dislike the Sonic Pad’s closed fork, this is the open alternative.
Klipper on a Pi splits motion planning from the printer mainboard. The Pi does the math, and the mainboard just executes steps. That lets older 8-bit boards reach speeds they could never handle alone. The Pi 5’s quad-core ARM processor makes input shaping and pressure advance calculations fast. It also supports multiple MCUs, so you can run several printers from one Pi.
The downside is availability and setup. A bare Pi 5 costs around $60, but you still need a power supply, microSD card, and possibly a USB cable. You must assemble an OctoPrint image or install Klipper from a package list. This is more work than the Sonic Pad. For makers who already know Linux or want to learn, it is the most flexible upgrade.
Key strengths:
- ✅ Open-source control with no proprietary firmware
- ✅ Handles multiple printers and webcams
- ✅ Strong processor for input shaping and plugins
- ✅ Works with most open-source mainboards
- ❌ Requires Linux setup and maintenance
- ❌ Bare board needs extra parts like power supply and storage
- ❌ Harder to start than an all-in-one Klipper pad
Who it’s for: Makers who want open-source remote control and are comfortable with basic Linux.
6. Creality Fireproof Enclosure , ABS, ASA, and stable chamber temperatures
An enclosure traps heat so the print cools slowly. That reduces warping and layer splitting on ABS and ASA. The Creality Fireproof Enclosure is made from fire-resistant material and fits a 600x600x720mm space, enough for an Ender 3 or similar bed slinger. It also keeps dust and drafts off the print. For large ABS parts, it is often the difference between a flat corner and a curled corner.
The enclosure folds up when not in use and has a reflective interior that helps hold chamber temperature around 35°C to 45°C. That may not sound high, but it is enough to reduce thermal shock. You still need an all-metal hotend and good bed adhesion for ABS. Our guide to best enclosed 3D printers compares printers with built-in enclosures. If you already own an open printer, this add-on is cheaper than buying a new machine.
The downside is that the enclosure can overheat the power supply and electronics if you leave it fully sealed for long PLA prints. For PLA, keep the door open or add a temperature-controlled vent. The material is fire-resistant, but it is not a substitute for a smoke detector or fire suppression. Never run a printer overnight in an enclosure without monitoring.
Key strengths:
- ✅ Reduces warping on ABS and ASA
- ✅ Fire-resistant fabric adds safety
- ✅ Folds flat for storage
- ✅ Fits most 220x220mm bed slingers
- ❌ Can overheat electronics during long PLA prints
- ❌ Not a replacement for a smoke detector
- ❌ Adds bulk to the print area
Who it’s for: Makers who print ABS, ASA, or large PETG parts in drafty rooms.
7. Sunlu S2 Filament Dryer , Wet filament and moisture-prone materials
Wet filament is the hidden cause of many print failures. Nylon, PETG, and TPU absorb moisture from the air and hiss, pop, and leave rough surfaces when printed. The Sunlu S2 dries spools at temperatures from 55°C to 70°C, which covers PLA, PETG, ABS, and nylon. It also holds two 1kg spools or one 2kg spool and rotates them for even drying.
You can print directly from the dryer because it has a filament exit port. That matters for nylon or TPU, which can reabsorb moisture within hours. The S2’s 360-degree rotation and fan-driven air circulation reduce wet spots. It runs for up to 48 hours on a timer, so you can set a spool to dry overnight. Our filament storage guide explains how to store spools after drying to keep moisture out.
The downside is that the stock firmware does not go below 55°C, which is too hot for some PLA drying cycles that typically use 45°C to 50°C. You can work around this by using short cycles or buying a model with wider temperature control. The S2 is also not a vacuum chamber. It removes surface moisture but cannot revive severely brittle filament. For everyday spools, it is a solid upgrade.
Key strengths:
- ✅ Dries at 55°C to 70°C for PETG, ABS, and nylon
- ✅ Holds two 1kg spools at once
- ✅ Print directly from the drying chamber
- ✅ Timer runs up to 48 hours
- ❌ Minimum 55°C is high for some PLA drying recommendations
- ❌ Not as effective as a vacuum dryer
- ❌ Adds counter space and power draw
Who it’s for: Makers who print PETG, TPU, or nylon and live in humid climates.
8. Bondtech CHT 0.4mm High Flow Nozzle , Higher flow at standard temperatures
The Bondtech CHT nozzle uses a split internal geometry that increases the surface area between the hotend and the filament. That lets the plastic melt faster without raising temperature. Bondtech claims up to 40% more flow than a standard brass nozzle of the same diameter. For a 0.4mm nozzle, that can be the difference between 15mm³/s and over 21mm³/s on many hotends.
Faster melting helps when you push higher print speeds. A stock hotend can struggle to keep up at 150mm/s with a 0.2mm layer height. The CHT nozzle reduces underextrusion and skipped steps. It also allows larger layer heights at moderate speeds, so you get stronger and faster prints. The nozzle is coated for abrasion resistance, but it is not intended for carbon fiber or glass filled materials.
The downside is that it costs more than a regular brass nozzle. You also need to retune flow and possibly temperature because the melt rate changes. Buy one for your main 0.4mm setup, not as a novelty. Pair it with the all-metal hotend and direct drive extruder for a complete speed package.
Key strengths:
- ✅ Up to 40% higher flow than standard brass
- ✅ Reduces underextrusion at speeds over 150mm/s
- ✅ Coated for normal abrasive filaments
- ✅ Standard M6 threads fit most hotends
- ❌ Costs more than a standard nozzle
- ❌ Not for heavily abrasive filaments
- ❌ Requires flow and temperature retuning
Who it’s for: Makers pushing high speeds or large layer heights on a standard hotend.
Frequently Asked Questions
What upgrade should I do first on a 3D printer?
Start with auto bed leveling or a Klipper pad. Auto bed leveling fixes first-layer failures quickly. A Klipper pad gives you speed and remote control without replacing the whole printer.
Is a Klipper pad better than a Raspberry Pi for 3D printing?
A Klipper pad is easier to set up because it comes with a screen and preloaded firmware. A Raspberry Pi is more flexible and open. Choose the pad for simplicity or the Pi for full control.
Do all-metal hotends work with PLA?
Yes, but they can clog if retraction is too long. Use retraction under 2mm and keep part cooling on. All-metal hotends are really built for PETG, ABS, ASA, and nylon.
Will a direct drive extruder improve print quality?
It usually reduces stringing and makes flexible filaments printable. The shorter filament path gives more precise retraction. It can also add weight to the print head, so you may need to tune acceleration.
Can I print ABS without an enclosure?
Small ABS parts can sometimes print without one, but warping and layer splitting are common. An enclosure traps heat and blocks drafts. For reliable ABS, use an enclosure and an all-metal hotend.
Are these upgrades difficult for beginners?
Some are simple, like a filament dryer or enclosure. Others require wiring and firmware changes. If you can use basic hand tools and follow a video guide, you can install most of them in under two hours.
What Should You Remember?
- Klipper first: A Sonic Pad or Raspberry Pi 5 delivers the largest speed gain on most open-source printers.
- Direct drive: Swap the Bowden setup to print TPU and reduce stringing.
- All-metal hotend: Required for PETG, ABS, ASA, and nylon above 240°C.
- Auto bed leveling: CR Touch or BLTouch saves more failed prints than any cosmetic mod.
- Dry filament: Wet filament ruins PETG, TPU, and nylon; a dryer pays for itself.
- Nozzle flow: A Bondtech CHT nozzle enables higher speeds without raising temperatures.
This article is for general information only. Always follow your printer manufacturer’s guidelines and material safety data sheets (MSDS) for safe operation.